Tailwind is Utility First CSS Library used for rapidly developing web applications, it eliminates the need of writing pure CSS and has a utility class for almost every CSS property.
It is also fast, small, and suitable for production-grade web applications. Tailwind CSS can be advantageous for styling your website quickly.
We can use Tailwind CSS with a variety of Web frameworks along with traditional CSS Styling.
There are mainly two ways to use Tailwind CSS in a Vanilla HTML project.
- By using Tailwind Play CDN
- By using Tailwind CLI ( Best )
So let’s talk about both of them.
1. By using Play CDN
Just add this code inside the <head> </head> tag of your index.html inside the public folder and you are ready to use Tailwind CSS in your app.
<script src="https://cdn.tailwindcss.com"></script>Now you can use tailwind CSS inside your page.
<!DOCTYPE html>
<html lang="en">
  <head>
    <script src="https://cdn.tailwindcss.com"></script>
    <title>Tutorend</title>
  </head>
  <body class="bg-gray-800 text-white text-center">
    <h1 class="bg-green-400 text-4xl font-bold p-2">
      Hello Coders!
    </h1>
    <p class="text-xl">Tailwind CSS in HTML</p>
  </body>
</html>
But in this way, you have to include this script inside every page you want to use tailwind CSS, and it loads a large javascript file in your website and your website becomes hard to load that’s why this method is not recommended for production.
Alternatively, you can use Tailwind CLI to dynamically build CSS files based on only the features and classes you use in your application.
2. By using Tailwind CLI
Using Tailwind CLI means configuring your HTML project with some NPM packages that help to build CSS from Tailwind Classes you use on your page.
Although this process takes some time it is the best way to use Tailwind CSS in your vanilla HTML projects.
For this method, it’s better to have some knowledge of Nodejs, NPM packages, and Terminal.
Prerequisites
- Node Js installed on your computer.
- Some knowledge of Terminal and Javascript.
Using Tutorend html-tailwindcss template
If you wish to skip this long process of configuring Tailwind CSS in your HTML project then you can just use the template we made to make your job easier.
Just run this command in the terminal to clone our template on your computer.
npx degit tutorend/html-tailwindcss New_Project_nameThen run npm install inside your project directory and you are ready to use Tailwind CSS.
Visit our GitHub page to learn more.
Configuring Your HTML Tailwind CSS Project
To configure everything yourself follow these steps.
1. Creating the new project
You can create a simple folder/directory to configure this project.
Example:- I created a folder named html-tailwindcss
If you have already created one then you can open this in any code editor, I am opening it in my favorite VS code.
2. Initializing node project
Now we have to initialize a node the project so that we can install and use the packages required for building Tailwind CSS.
Open a terminal in your project and run npm init in that.
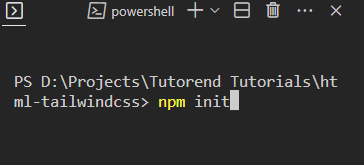
After running this you will be given some prompts, you can configure your project as you like but if you don’t know what are you doing just keep pressing enter, and at the end just type yes and press enter.
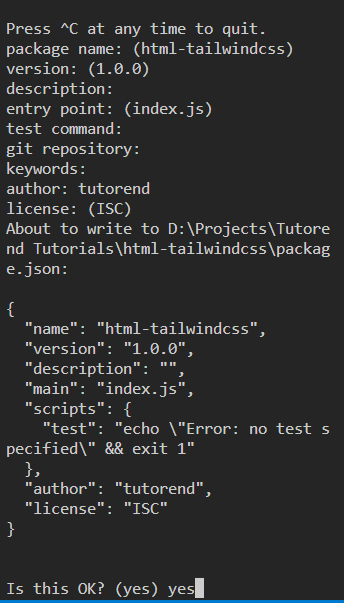
Then you will see a package.json file created inside your project.
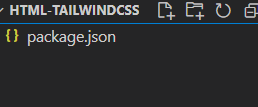
package.json is used in Node.js projects to store information about the project, its dependencies, scripts, and configurations.
In our case content inside package.json looks like this
{
  "name": "html-tailwindcss",
  "version": "1.0.0",
  "description": "",
  "main": "index.js",
  "scripts": {
    "test": "echo \"Error: no test specified\" && exit 1"
  },
  "author": "tutorend",
  "license": "ISC"
}
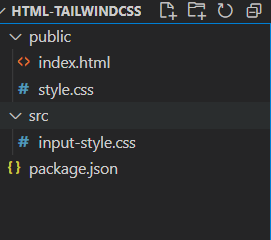
3. Creating files and folders
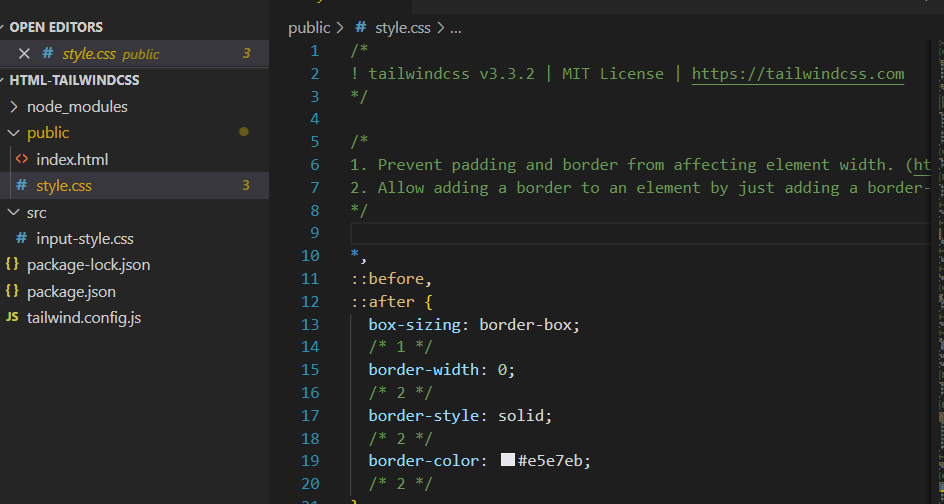
Now we are going to create some folders like the public to keep our HTML files which are going to be served and the src folder inside which we will keep our source files and input CSS files.
Inside the public folder create two files index.html and style.css
Write the basic page in index.html and link style.css to it.
<!DOCTYPE html>
<html lang="en">
<head>
    <link rel="stylesheet" href="style.css">
    <title>Tutorend</title>
</head>
<body>
    <h1>Hello Coders!</h1>
</body>
</html>
Inside the src folder create a CSS file and name it anything or input-style.css because this file is going to be used by Tailwind to build CSS for our project.
4.Install Tailwind CSS
Open the terminal and run this command to install Tailwind CSS
npm install -D tailwindcssthe above command will install Tailwind CSS in our project.
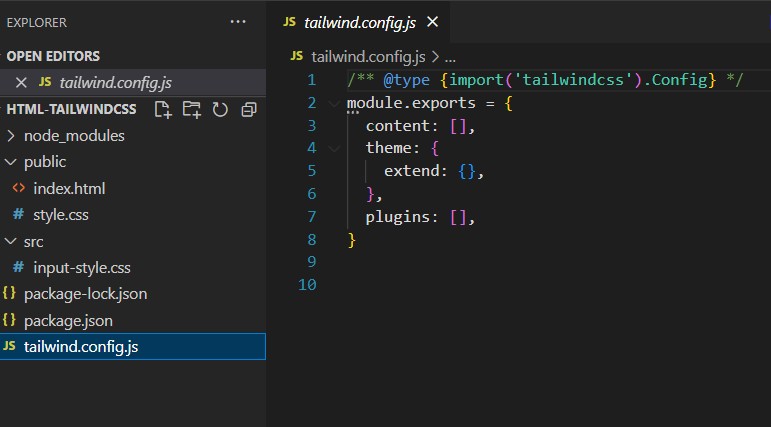
Now run this command to create a tailwind configuration file.
npx tailwindcss initthe above command will create a new file called tailwind.config.js which will be used to configure and customize tailwind CSS features in our project.
Here’s how it looks
5. Configure paths to our HTML files
In the tailwind.config.js we need to specify the paths to the files in which we are going to use Tailwind CSS classes.
If you are following my project structure you can write this.
content: ["./public/**/*.{html,js}"],Now config file will look like this
/** @type {import('tailwindcss').Config} */
module.exports = {
  content: ["./public/**/*.{html,js}"],
  theme: {
    extend: {},
  },
  plugins: [],
}
6. Adding the Tailwind directives in our input CSS
Add the following three Tailwind directives in our input-style.css , remember these should be always on the top of the file.
@tailwind base;
@tailwind components;
@tailwind utilities;
7. Writtig Tailwind CSS Classes in our project
Now everything is set up we can write Tailwind CSS classes in our project.
Here’s the index.html file after writing some Tailwind CSS code
<!DOCTYPE html>
<html lang="en">
  <head>
    <script src="https://cdn.tailwindcss.com"></script>
    <title>Tutorend</title>
  </head>
  <body class="bg-gray-800 text-white text-center">
    <h1 class="bg-green-400 text-4xl font-bold p-2">
      Hello Coders!
    </h1>
    <p class="text-xl">Tailwind CSS in HTML</p>
  </body>
</html>
8. Building CSS from Tailwind Classes
Now it’s time to Test our configuration.
Run the below command to build CSS code from the Tailwind CSS classes we are using.
npx tailwindcss -i ./src/input-style.css -o ./public/style.css --watchIn the above command, the TailwindCSS compiler is scanning all of our HTML and JS files inside the public folder, and based on the directives used in the input-style.css it is going to build and write pure CSS inside our style.css file that is inside the public folder.
Tailwind is only going to build for the classes are using in our project making the CSS build relatively small, unlike the CDN method in which the whole Tailwind library code is loaded on with the webpage.
--watch command is used to continuously keep building CSS without having to rerun the command every time we change our code.
After running the above command you will see this in terminal
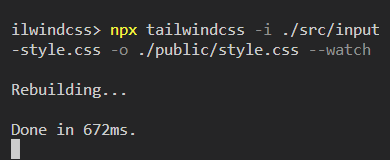
This means our setup is working fine and our style.css file would be written with code like this
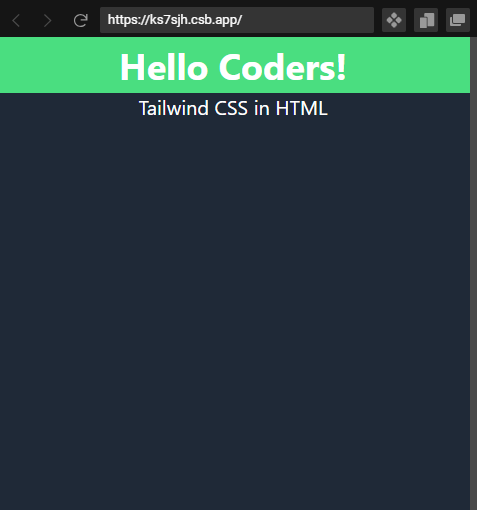
Now we can serve our project with any server if you’re using VS Code then You can use Live Server Extension and Click on the Go Live button which appears in the bottom right corner.
And we will see this webpage in our browser.
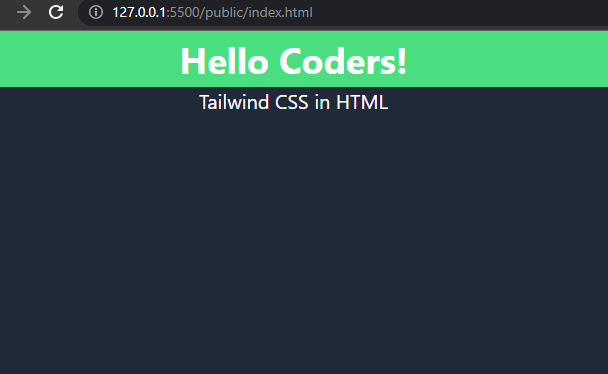
If you see a page like this, KUDOS you are smart and successfully configured and used Tailwind CSS in your HTML project. Take a healthy break.
Conclusion
Configuring Tailwind CSS in a Vanilla HTML project is a bit time taking but totally worth it. If you want to quickly get started you can use our Template which is very much quicker.
Using Tailwiind CDN is not recommended for production.
I hope this tutorial was helpful, you can also watch this tutorial in video format on my YouTube channel.