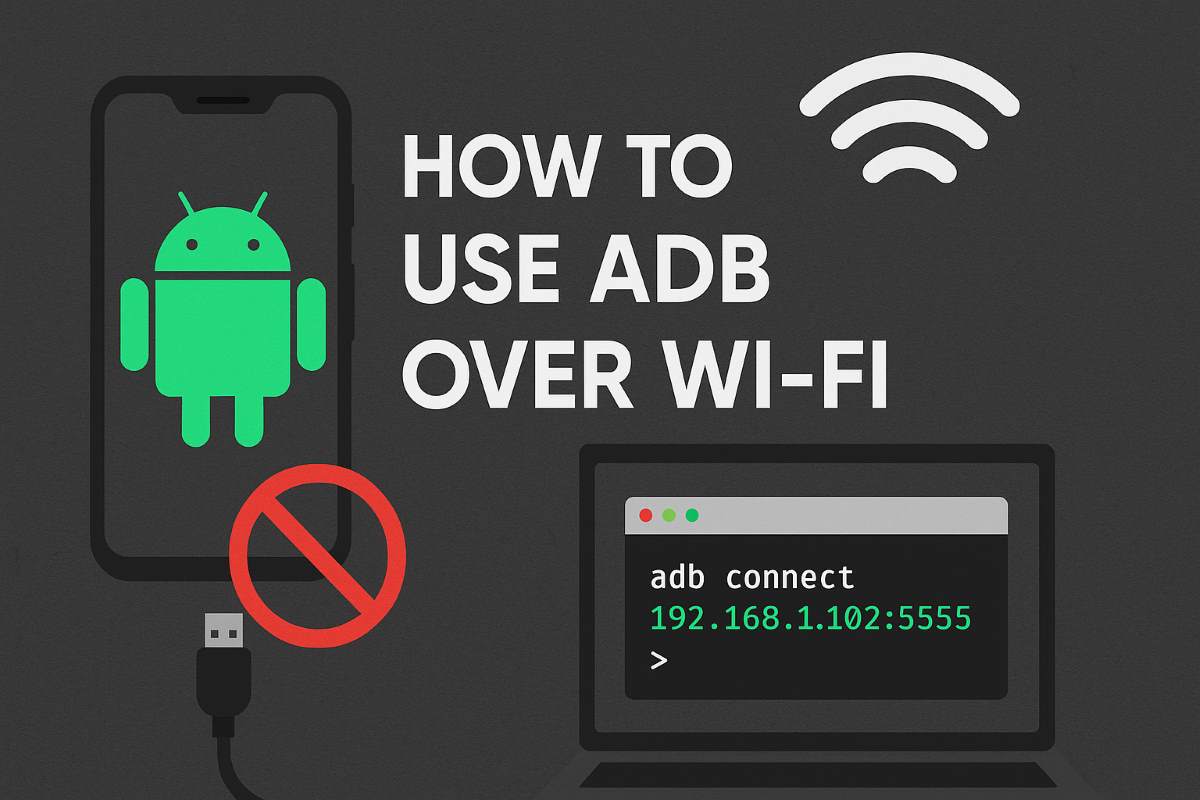
While building an Android application, we might need to test and debug it on a real device. We have to keep our phone connected to our PC with a USB cable. Well, not anymore. With the ADB over Wi-Fi feature, we can run our app on our phone over Wi-Fi, and it works no differently than the traditional USB method. We still get all the features like hot reloading and live logs.
Now, let’s see how to use ADB over Wi-Fi
Step 1: Connect Your Phone via USB (Only Once)
- First, connect your Android device to your computer using a USB cable.
- Make sure USB debugging is enabled on your phone.
Go to Settings > About Phone > Tap Build Number 7 times to enable developer options. - Then go to Settings > Developer Options > Enable USB Debugging.
- Also, enable Wireless Debugging, which is available below USB Debugging
Step 2: Get Your Phone’s IP Address
First, ensure that both devices are connected to the same Wi-Fi.
- On your Android device, go to Settings > About phone > Status > IP address
- OR use a terminal app or connect to your PC and run:
shell ip route - The output will look something like:
192.168.1.1 dev wlan0 - Your device’s IP address will typically be
192.168.1.xxx.
Step 3: Enable ADB Over Wi-Fi
Run the following command on your PC:
adb tcpip 5555 This restarts the ADB daemon in TCP/IP mode on port 5555.
Step 4: Disconnect USB and Connect Over Wi-Fi
- Now unplug the USB cable.
- Connect to your device over Wi-Fi by running:
adb connect <device-ip>:5555 - Replace
<device-ip>With the IP address you got earlier. For example:
adb connect 192.168.1.102:5555Step 5: You’re All Set!
- Now, your Android device is connected over Wi-Fi. You can install and debug apps just like with a USB cable.
- You can verify the connection by running:
adb devicesIt should list your device with its IP.
To Reconnect Later
If your device disconnects or you restart it, just run:
adb connect <device-ip>:5555You don’t need to use USB again unless you restart the ADB server or the computer.


